DIY pram dinghy construction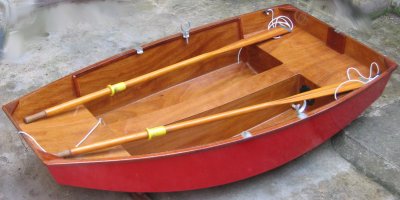
The dinghy was built with plywood, epoxy and fibreglass using stitch and glue techniques. This involves assembling the pre-cut components with wire or cable ties to pull the flat panels into the shape of the hull. Only when these are aligned and true is the epoxy and fibreglass tape used to fix the edges and joints permanently. There are a number of links to descriptions of stitch and glue techniques and some epoxy manufacturers supply details of how to user their products
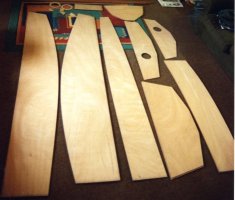
The first operation was to cut the main components from the plywood. The paper plans were taped over the plywood and adjusted so the grid on the plan was completely straight. A knife was used to mark through the plans into the wood every few centimetres. The plan was then removed and pencil lines drawn to mark the edges and intersections of the bulkheads. The plywood for the planks, permanent bulkheads, central buoyancy tank sides and bow and stern transoms was then cut out sightly oversize using a jig saw. The front and back ends of the hull planks were left a couple of centimetres over length as this allowed additional clamps to be attached when the hull was pulled into shape. Similarly, the bow and stern transoms were left slightly over size so a bevel could be planed later to fit the angle of the planks. A second layer of ply was laminated over the transoms to give a thickness to 12mm. and provide strength for the outboard motor bracket and painter attachment.
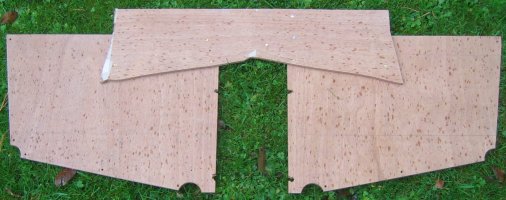
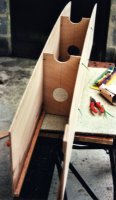
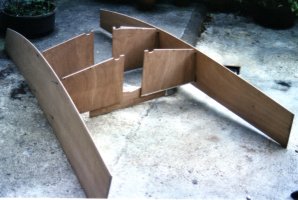
Two temporary bulkheads are also required to hold the shape of the centre of the hull during construction. These were made from scrap 9mm plywood. The corners of the bulkheads were removed so the joints could be finished with them in position. The slot in the centre allows them to be fitted over the longitudinal seat.
As much work as possible was done on the components prior to assembly. The holes and strengthening ring were cut for the buoyancy tank access hatches and the extension pieces on the permanent bulkheads glued on.A glue surface was needed when the deck was finally added and these pieces of wood were attached to the components where possible.
If the boat was going to be finished using epoxy it would probably be good to give all components a coating while they are flat. This would allow any spillage to be easily cleaned off and also protect the surface of the wood. I didn't do this and by the time I came to varnish the interior the wood had faded and there were some stains from epoxy which showed.
Before assembly I drilled small holes to take thin plastic cable ties along all adjacent edges. The easiest way to do this was to place the panels edge to edge with the front or back aligned and then roll the planks an long each other marking the positions of the holes as you go. The holes were drilled a few millimetres from the edge so they are eventually covered by the fibreglass tape.
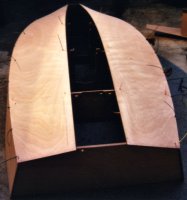
The components were assembled in the following order, although as nothing is permanently fixed until the complete boat is stitched together it is possible to adjust and move the components as you go.
| ||||||||||
Links
|
I do not warrant the correctness of this content. The risk from using it lies entirely with the user. While using this site, you agree to have read and accepted the terms of use.
Copyright © 2026. All Rights Reserved. Privacy policy
