
DIY pram dinghy construction (2)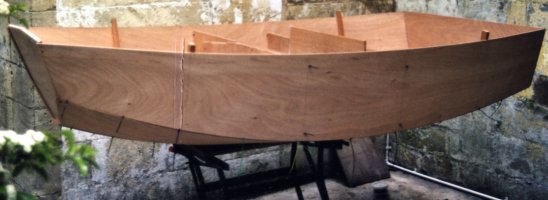 Construction
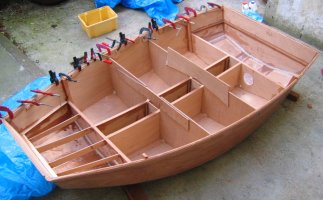
Having assembled the components into a recognisable, if wobbly, boat everything was secured and checked for alignment. The ends of the planks tended to bulge at the front transom so these were fixed with temporary screws with washers under their heads. Getting the bevels on the transom correct to match the planks helped as there was more wood to drive the screws into. I put some straight lengths of wood across the top and bottom planks of the hull and checked for twists by sighting along them.
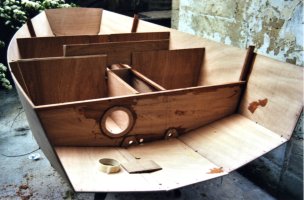
When I was satisfied that everything was aligned correctly I started gluing a bit at a time. I first slackened off the screws holding the planks to the bulkheads and transom and slide epoxy in the joints and reassembled, taking the screws out while the epoxy was still quite soft. I ran fillets of thickened epoxy along the insides of the bulkheads and buoyancy tanks and then turned the boat over and filled the gaps along the edges of the planks. Once this had set all the joints were fixed on at least one side and the hull was much more rigid.
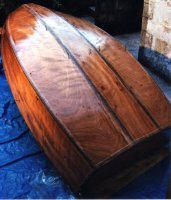
I finished the outside of the hull first. The edges of the planks and transom were planed with a very slight chamfer along the joints, about 1mm deep at the edge fading to nothing about 25mm into the plank. The corners, which had been filled with epoxy filler, were rounded off and 50mm fibre glass tape was epoxied over all the joints, filled and faired back into the hull.
Internally, all the joints were finished, either with epoxy fillets where the components joined at approximate right angle or covered in fibreglass tape where they were almost flat.
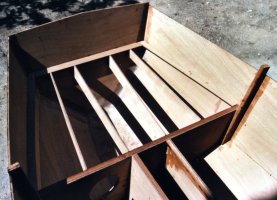
Inside the buoyancy tanks battens were attached to the hull so the edge of the deck can be glued down. At the back where there is an approximate right angle joint I used strips of wood planed to the right angle. At the front where the side of the hull is changing angle I cut strips of plywood, held them temporarily in position and then attached them with epoxy fillets. The deck beams are just plywood cut into a slight curve and attached with epoxy fillets at the ends.
 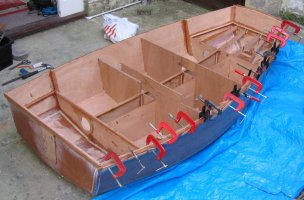
The rubbing strake was laminated around the outside of the hull from two strips of mahogany. I chamfered the bottom of the strips so that the underneath was approximately horizontal when it was bent around the hull. I didn't want it to look like it was drooping at the front where the hull side was flared. I put an additional strip along the inside of the central section to strengthen this unsupported area. The rubbing strips were carried around the front and rear transoms to give a neat edge to the paintwork. The dinghy was intended to be used as a tender so I was trying to make sure there was no where water would be trapped it was stored on its transom or up side down.
I wanted to protect the bottom so I put double keels down the centre of the hull, ending in a skeg. The back of the skeg was cut away at the stern to allow the wheel to be set in and supported by a 2mm aluminium cheek on either side. A second bilge keel was put on either side that spanned the gap between the front and back bulkhead. This helps protect the bottom and also provides some support where people are treading on the plywood floor.
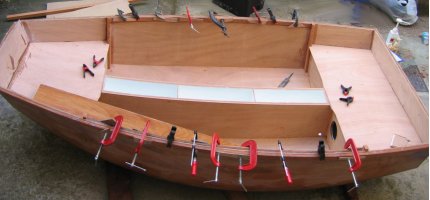
Probably the most difficult part of the construction was fitting the plywood decks. These need to be fitted on 3 sides and on the fronts of the bulkhead extensions, with lots of changing angles. I did this by slowly planing away the wood and repeatedly trying the fit.The front and back decks extend slightly onto the longitudinal bulkhead where there is a backing strip for a butt joint. The exposed edge of the decks was left oversize and were finished when fitted, the internal corners being rounded to match the size of the epoxy fillets. Before the decks were fitted the insides of the buoyancy tanks were painted and finished.
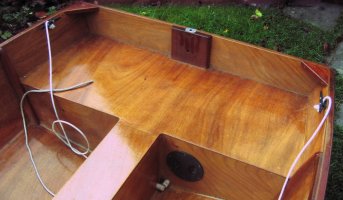
To finish off, small knees were fitted internally to strengthen the corners of the hull and an outboard pad glued to the inside of the transom.
| ||||||||||
Links
|
I do not warrant the correctness of this content. The risk from using it lies entirely with the user. While using this site, you agree to have read and accepted the terms of use.
Copyright © 2026. All Rights Reserved. Privacy policy